4 Steps to Teach Central Idea
Not interested in reading or want more insights? Check out the video!
Raise your hand if teaching central idea makes you want to bang your head against the wall?! 🤦♀️
I have found that when you ask students to tell you the central idea of an article, there are two types of responses: The one where they retell every single detail from the article and the one where they just respond with one or two words related to the topic. You might have that rare unicorn of a student who knows how to drill down to the central idea, but more than likely your students can use some help with this concept.
If so, I’m here with 4 steps you can follow to teach central idea to your middle school students!
Step One:
Build a Class Definition for Central Idea
I always start off with defining the concept because we are all coming from different backgrounds and I want everyone to have the same basic understanding before we dive into deeper stuff.
A great way to do this is to put students in groups of 3-4 and have them share what they think central idea means on a Padlet or Google Jamboard. Sometimes you will have students who say they have no idea. Encourage them to try and list key words associated with the concept or synonyms.
When everyone has shared, go through their responses and pull out words and phrases you like until you have enough key words to write a solid definition for central idea.
I pull out words and phrases and write them on the board. Sometimes I have to fancy it up a little. For example, students might write that it’s the big idea of the reading. I will say “Ohh! I like that! Can we use the word essential instead of big in our fancy class definition?”
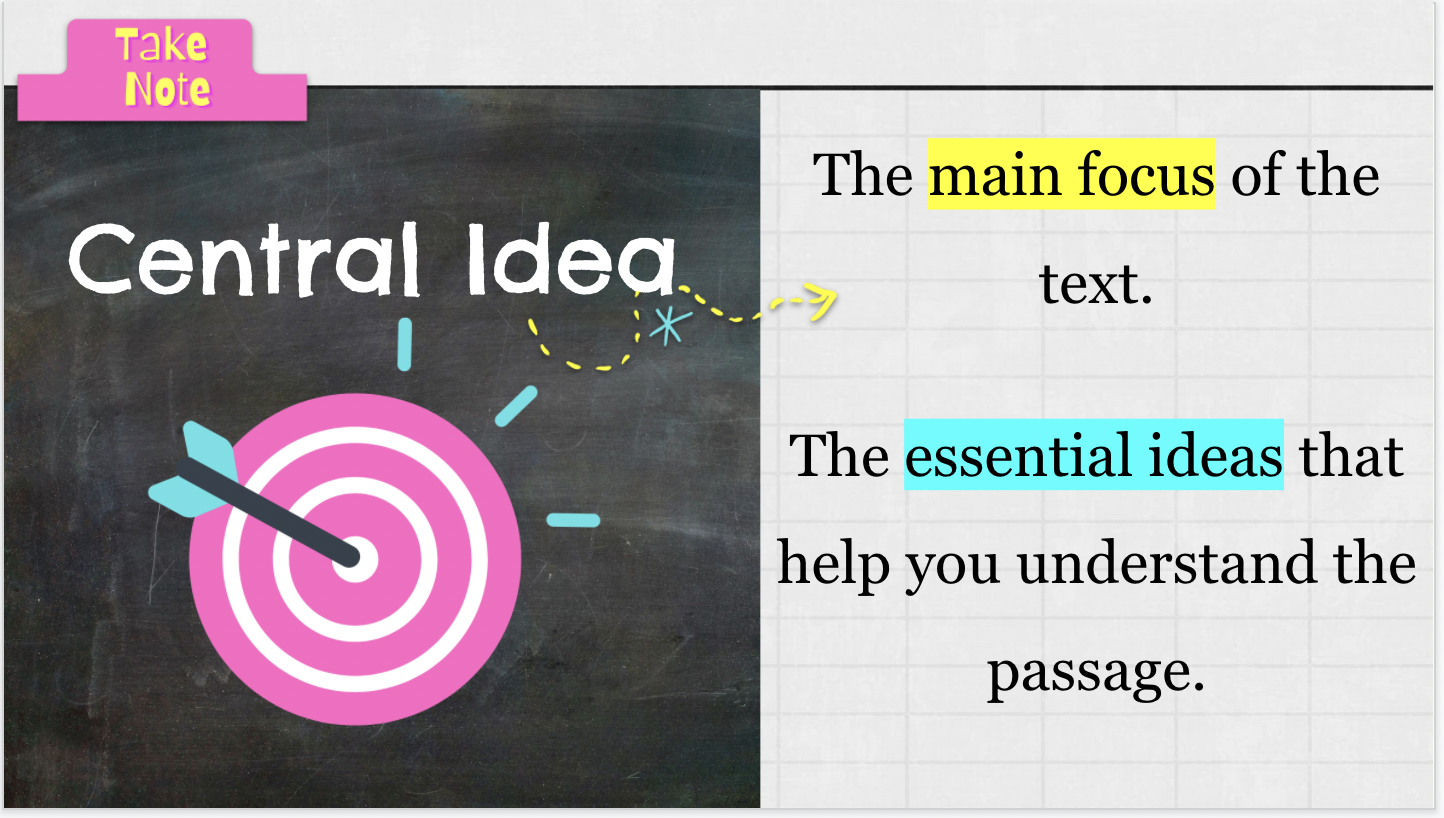
I work all the words together to form a definition along the lines of:
Central idea is the main focus of the text. It’s the essential ideas that help you understand each section and the passage as a whole.
I feel defining the word this way helps the students have ownership of the content and it makes them more invested.
Step Two:
Provide a Step-by-Step System for Determining the Central Idea
I don’t know about you, but if I just tell my students to read and write the central idea of the article, they will start reading, stare into space, start doodling on their sheet, fall asleep, and annoy their table friend with their loud breathing. When we first start with the concept, I introduce the students to a step-by-step method they can follow for determining the central idea of a text.
Having the specific and actionable steps gives them a purpose while reading making it less likely they will drool all over your table. 🤞😂
The Step-by-Step System for Determining Central Idea:
Check out the text features. Instruct students to circle the title, highlight the headings and subheadings, and read the captions of the pictures before jumping into the text.
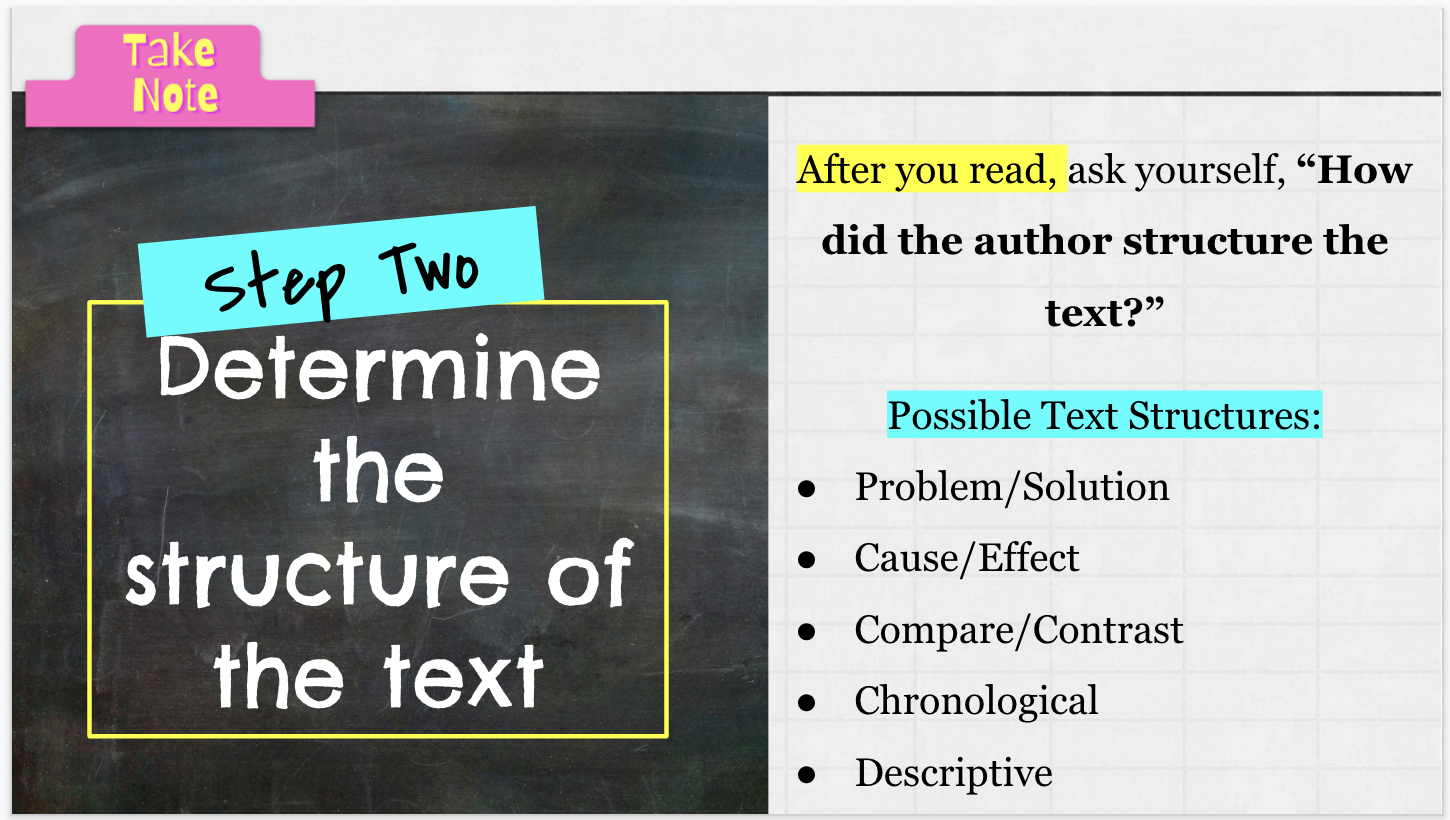
Determine the structure of the text.
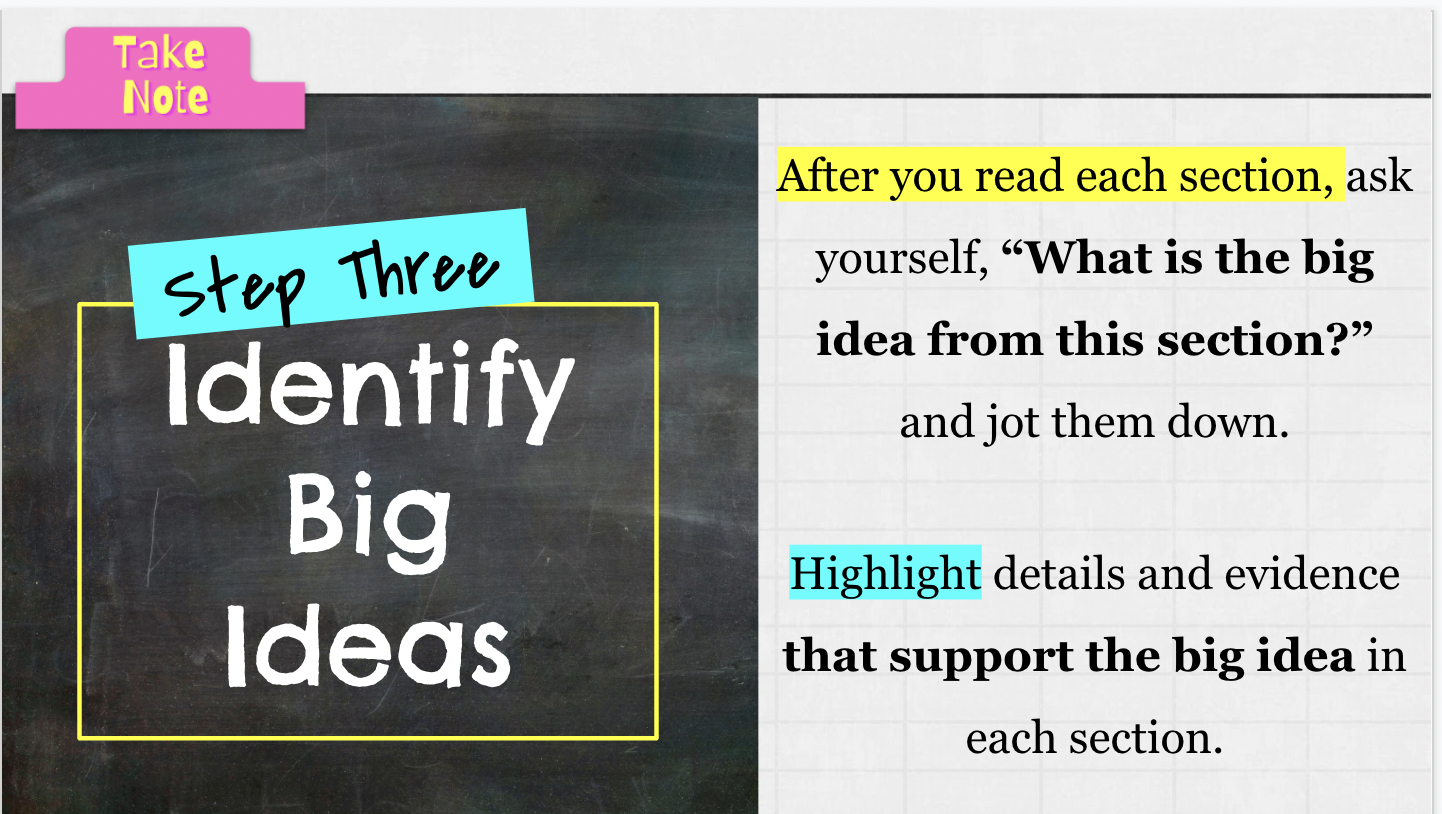
Identify the big ideas After students read each section, students will stop and think, “What is the big idea from this section?” Have a specific spot where they can jot this down (like the graphic organizer shown in the next step!). Students should go back to the text and highlight details and evidence that support the big idea in each section.
Locate the author’s thesis statement. After students finish reading and jotting the big ideas from each section, have them go back to the introduction and conclusion paragraphs and look for the sentence that explains what the passage is about. Students will highlight that sentence.
Review and check for understanding. Students will go and read back over their jots to make sure they understand the topic of the text. They will ask themself, “What is being said about the person, thing, or idea?” The answer to this question will be the central idea of the passage.
Step Three:
Graphic Organizers
Graphic organizers never go out of style because they are a great way to help your students organize all of their thoughts and jots!
My favorite one to use for this concept has students identify the topic, the big ideas of the different sections, and use that information to determine the central idea.
After students read, they will use their annotations to complete the graphic organizer.
You can quickly check their responses to make sure they are picking up on the big ideas in the article and not focusing on random small details.
If you would like to use this graphic organizer just fill out the form for your free Google Slides copy!
Step Four:
Provide students with a framework for writing the central idea statement
I modeled and taught my students the step-by-step system above and let them try it on their own with a NEWSELA article about NASA smashing asteroids in order to redirect their path (it’s a great, high interest article you can find here).
The highlights and annotations on their article made my teacher heart happy. I confidently moved on to the next step - actually writing out the central idea, and put the question, “What is the central idea of the article?” on the board. I smiled expectantly at them, they nodded and started writing.
When it was time to go over their responses, I got answers like, “It’s about NASA and asteroids, and knocking asteroids off their path.”
And while yes, this is technically true, I want my middle school students to have more structure to their responses.
In order to make this happen, I give them the following framework to follow when writing their central idea statements:
The title of the article
A summary action word (shows, describes, explains, discusses, lists, explores, illustrates, teaches, compares, states, etc.)
The central idea of the article
For example the response above turned into - The Newsela article, “NASA wants to smash a spacecraft into an asteroid, but don't worry — Earth isn't at risk”, explains how NASA is attempting to hit an asteroid and knock it off its course in order to learn how the asteroid responds to the impact.


