ELA Class Notebook Set Up
For many years I tried to find a notebook set up that would work for my classroom.
I would do different sections for the different activities (bellringer, vocabulary, reading strategies, etc), but I couldn’t keep up with it, and it was hard for my students to flip back and forth.
I tried interactive notebooks, but the cutting and gluing was too much for me. My inclusion students struggled, my gifted students were easily annoyed, and I could not stand the mess and constant search for glue sticks. (Side note: if you’re able to get interactive notebooks to work for your classroom, I am in awe of you! I love how pretty they are and really wanted them to work for my classroom).
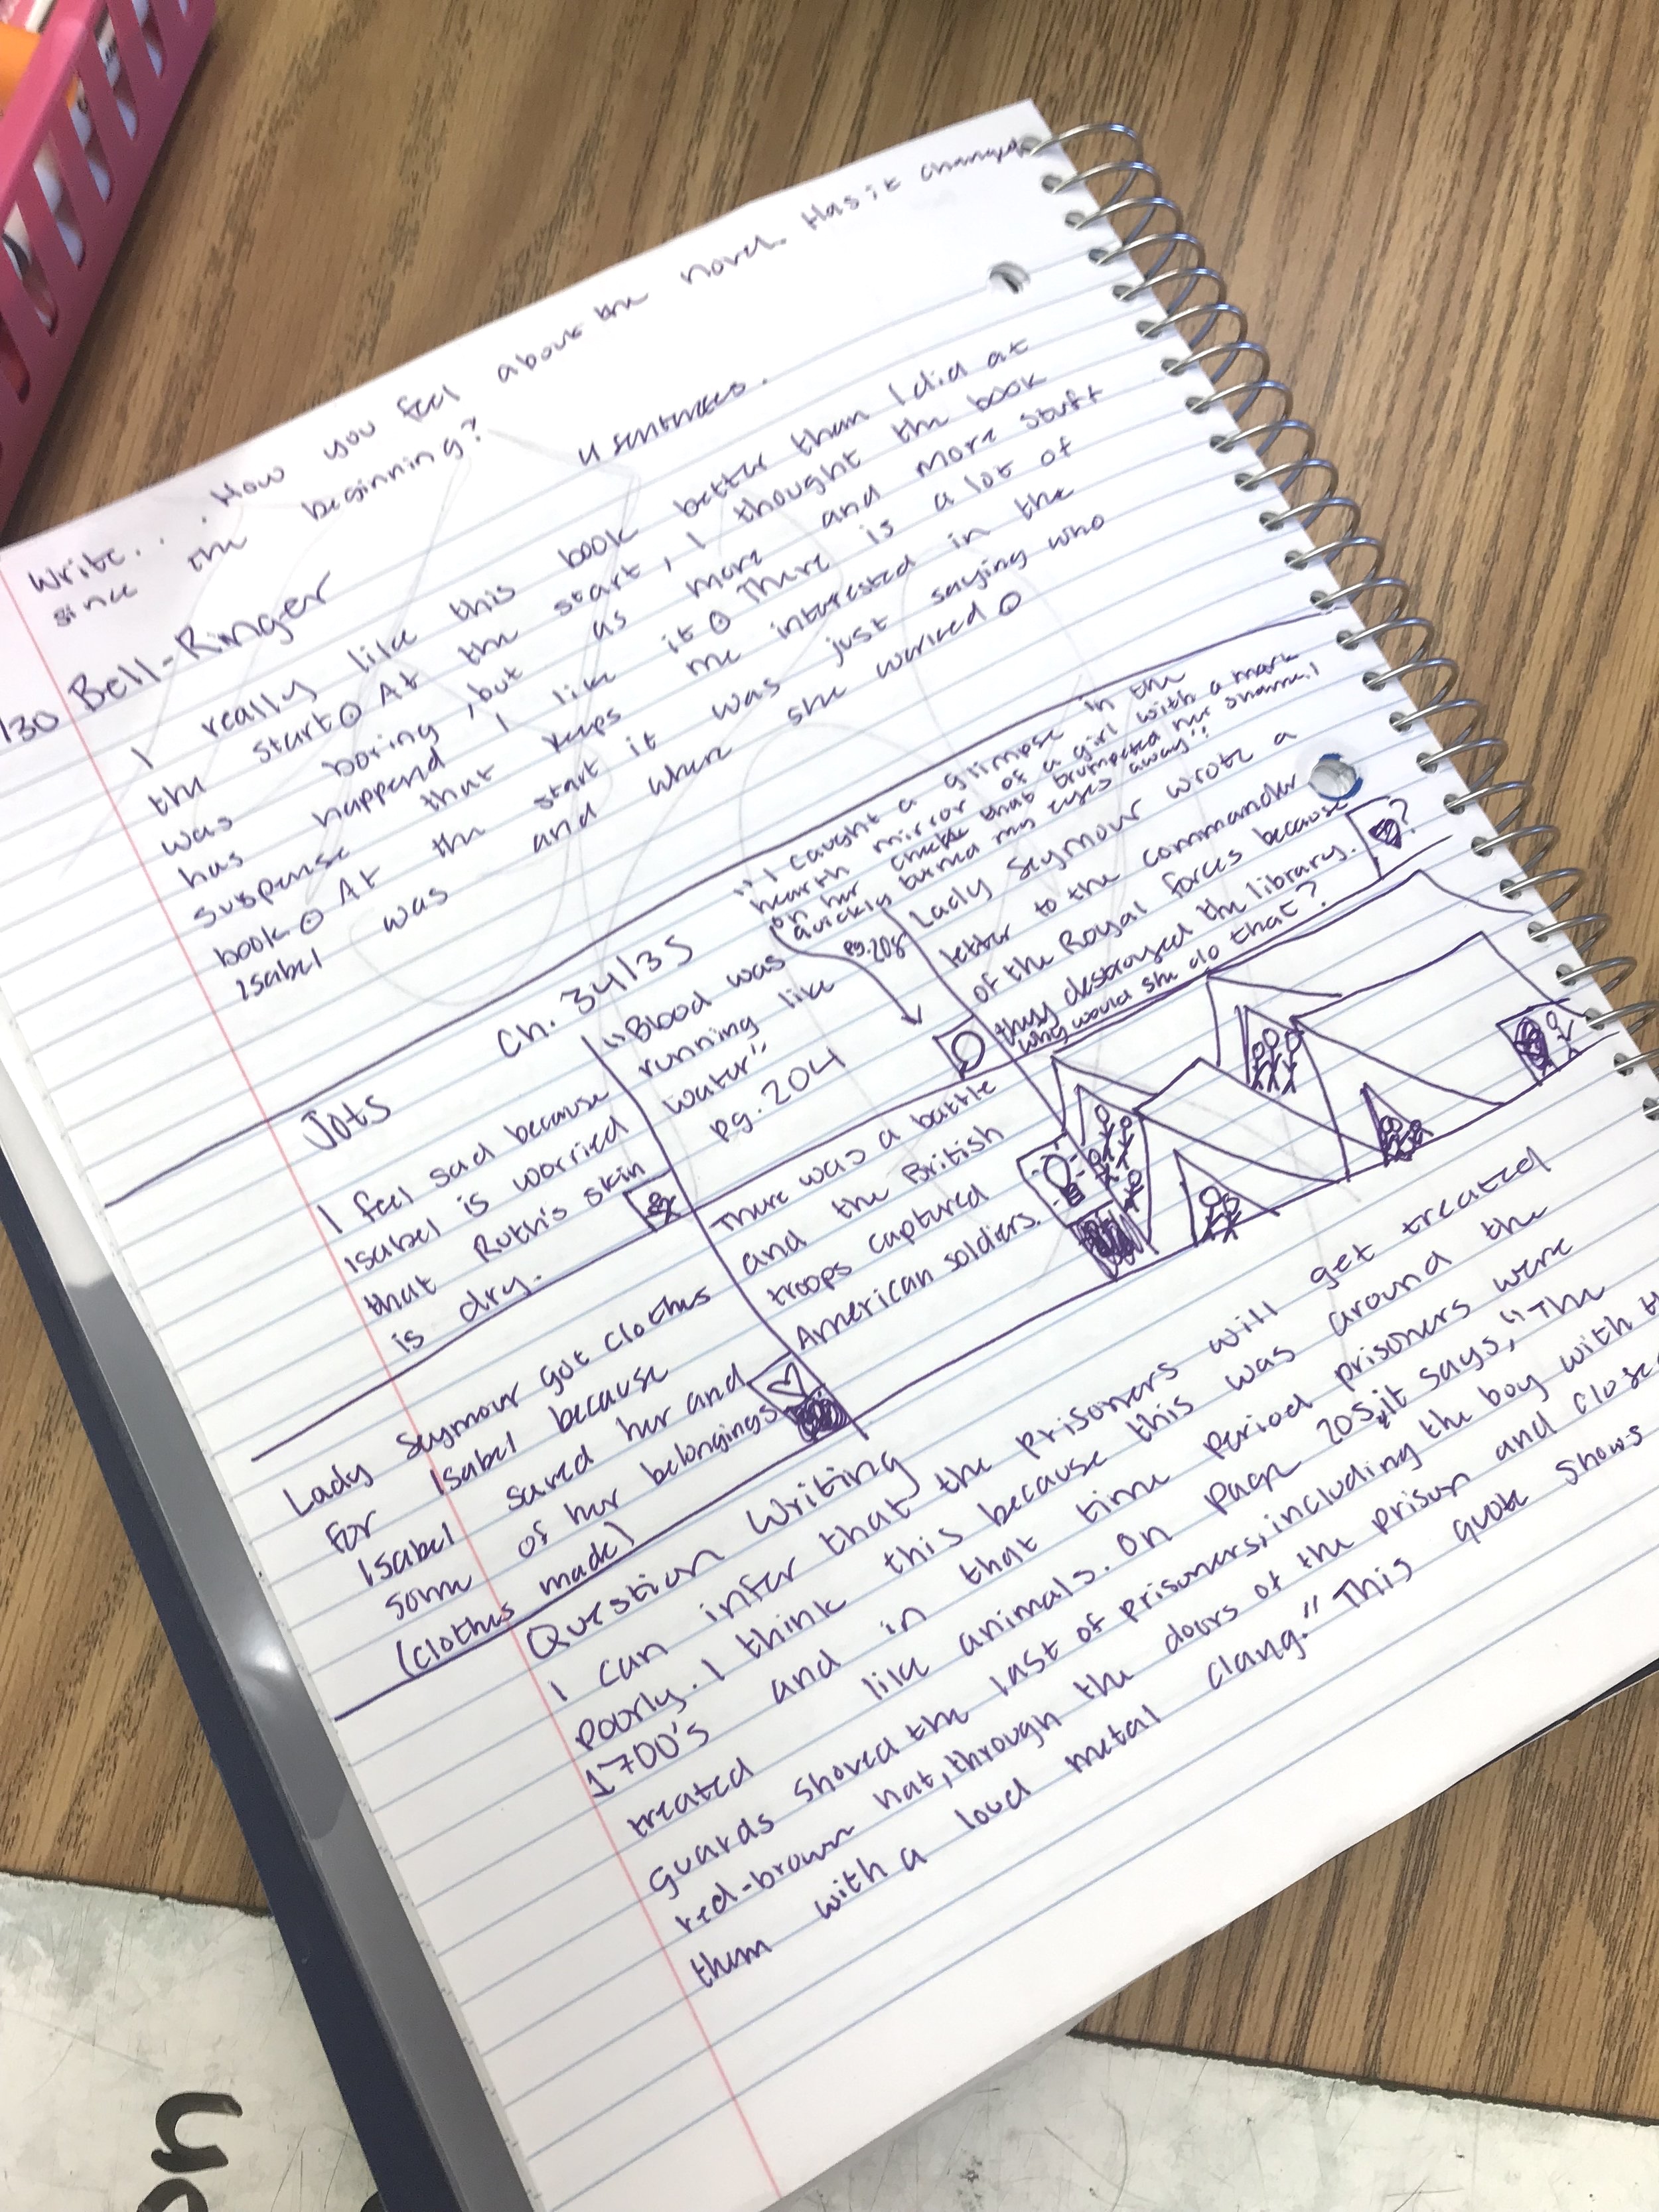
I tried to be less structured and told them to just take notes and complete activities in their notebooks as we went, but when it came time to grade them I was frustrated because some students had all of the items in order, and some would skip 10 blank pages, start from the back, or write upside down. It was an endless hunt for entries.
After 10 years of teaching, I finally found a method that worked for my classroom. Just in case you are in the same boat as I was, I’m going to share my method. It might not be the prettiest whiteboard layout, but it’s really life, and it works!
Steps:
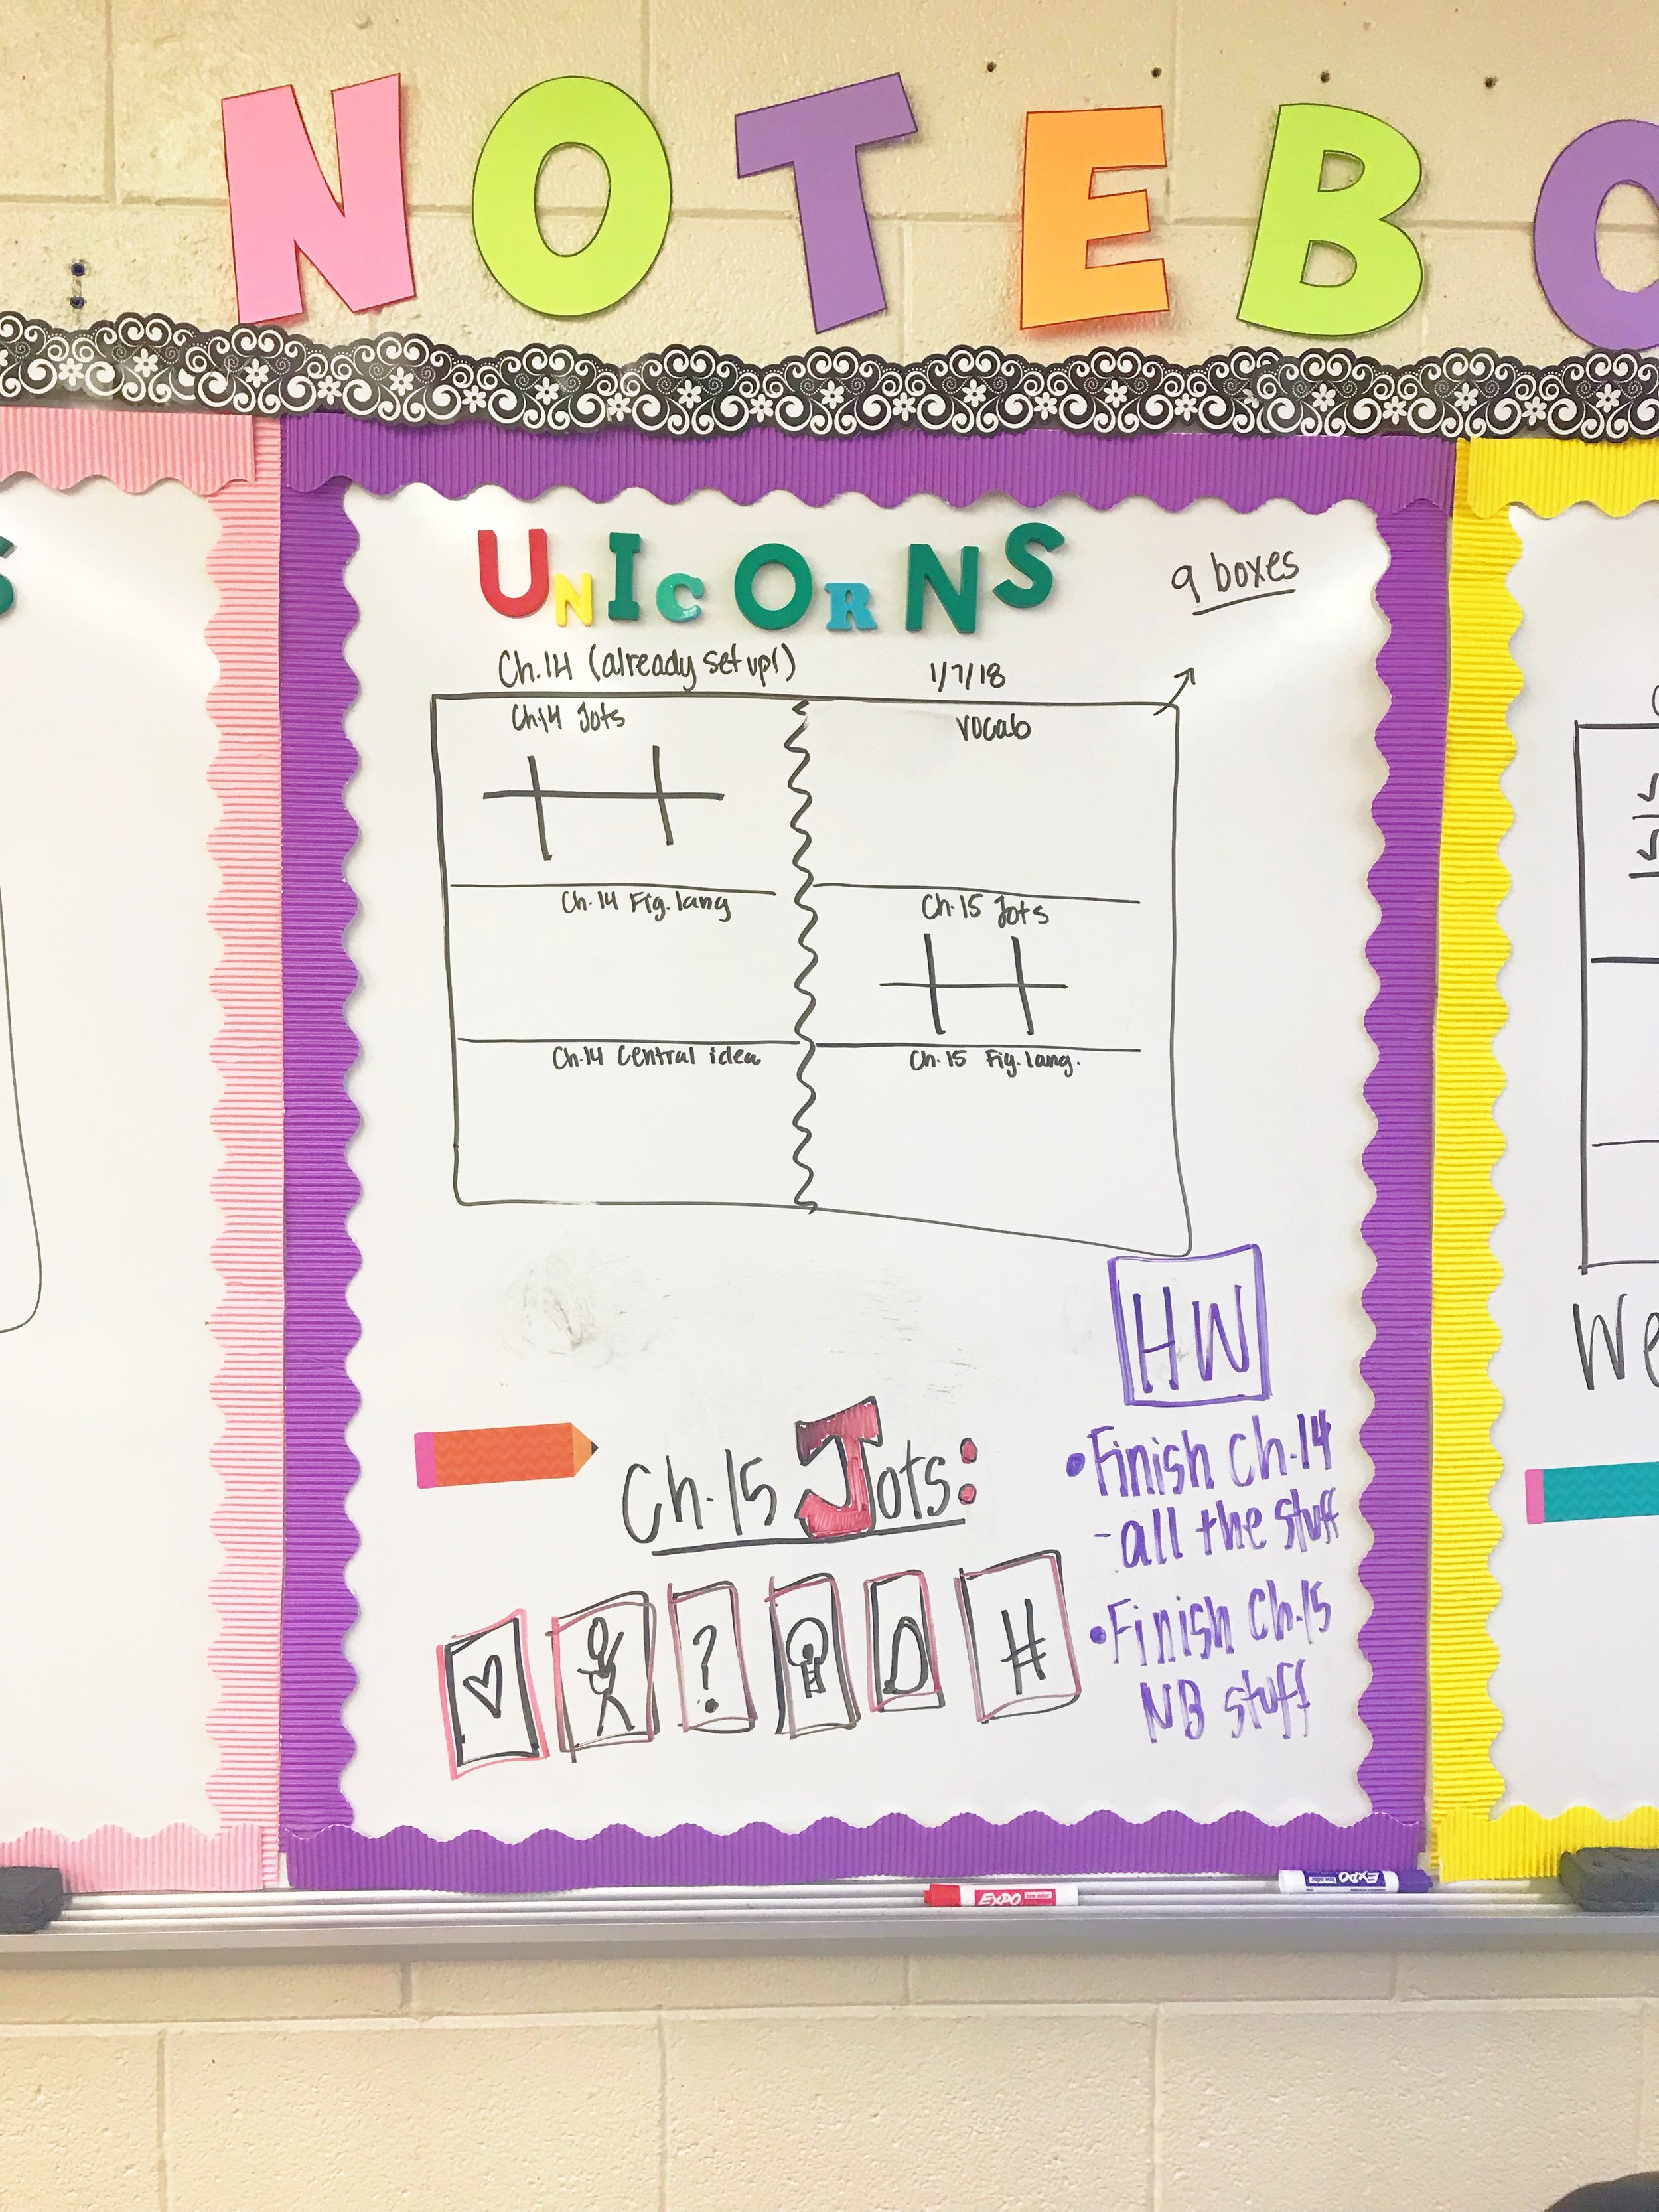
I have the whiteboard separated so each class has their own section because they will inevitably be in different spots.
I draw a large rectangle to represent a spread in their 5 subject notebook (2 side by side pages). The squiggly line down the middle represents the spiral (this has to be explained and shown or else they will all draw a squiggly line down the middle of one page).
I put the date on the top and divide the rectangle into what we need for the day and label the sections. Sometimes we will use one page, and sometimes it will be both pages.
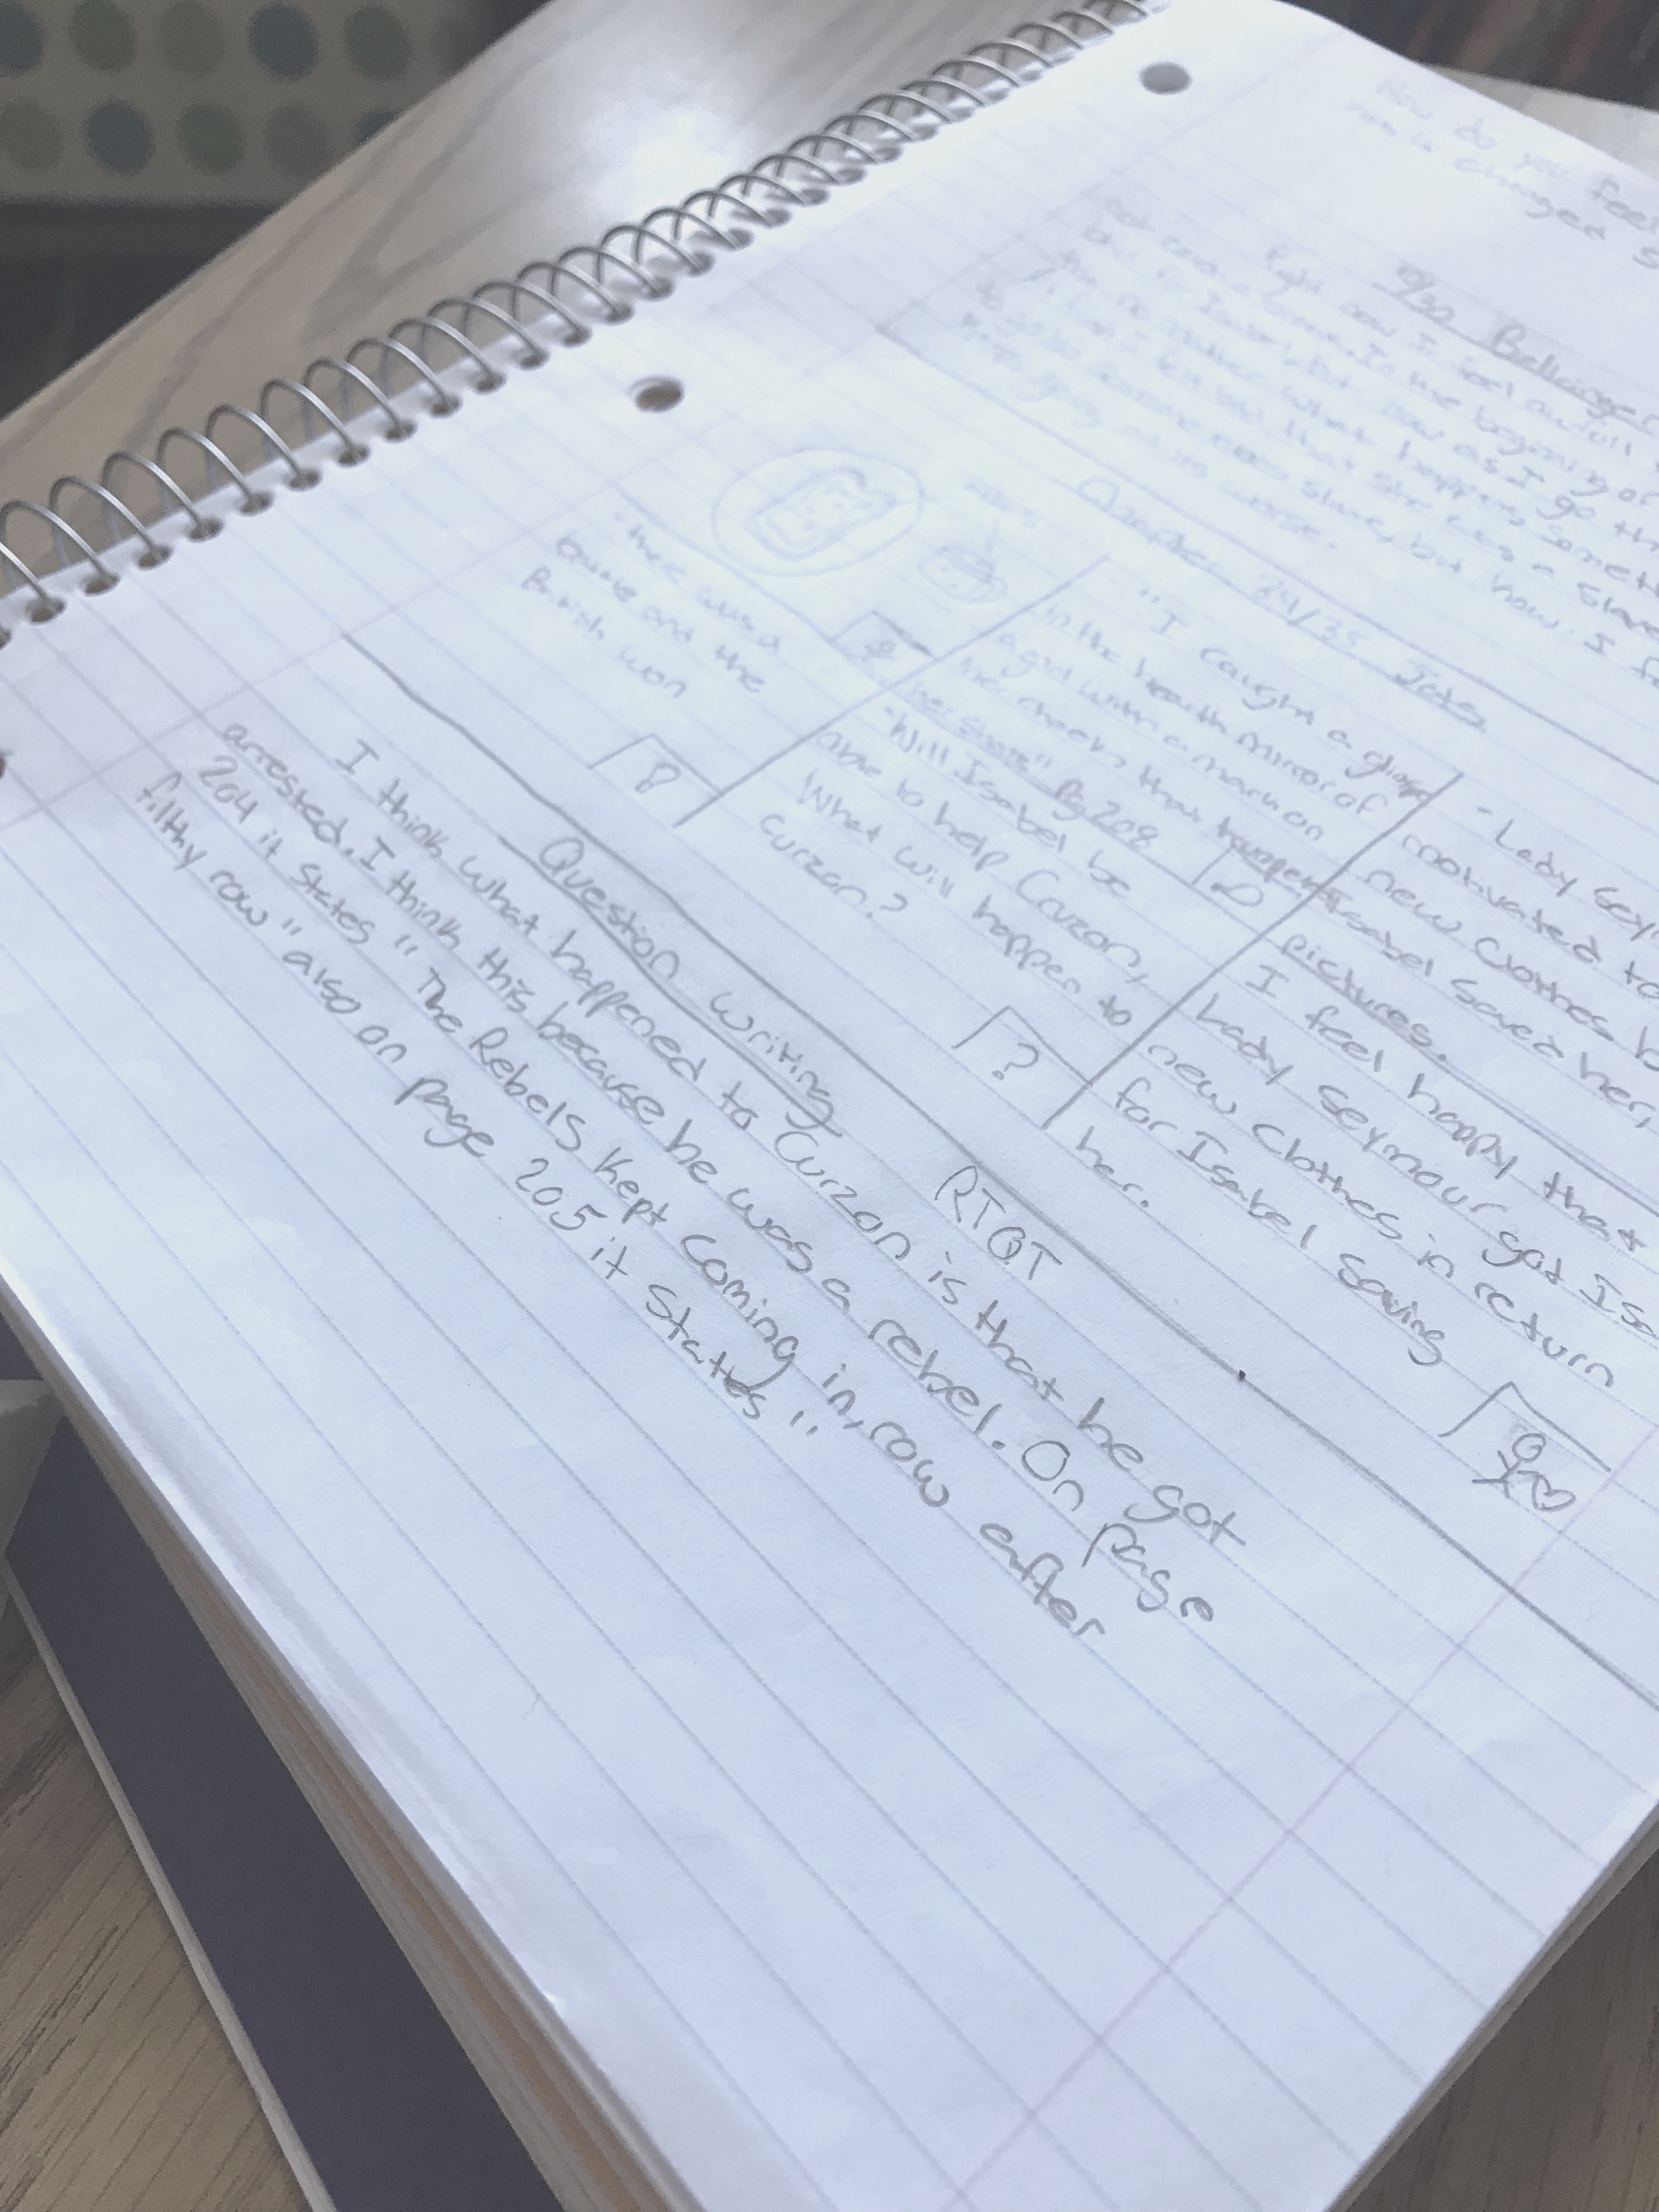
If we are doing annotations or jots, I will draw the symbols for the jots at the bottom so they can go ahead and code their jot boxes.


